1. Acquire Click Here For Additional Info
Before you start putting in wood floor covering, make sure you possess all the required materials on hand. This features your picked hard wood boards, underlayment, adhesive or nails, a saw, a gauging strip, a hammer or nail weapon, and security devices such as glasses and gloves.
2. Ready the Subfloor
The initial step in putting up wood flooring is to ready the subfloor. Guarantee that it is tidy, dry, standard, and totally free from any fragments or flaws that could possibly influence the setup process. If important, utilize a vacuum cleaner cleanser or broom to eliminate any sort of dust or dirt.
3. Lay Down Underlayment
The next measure is to lay down underlayment on top of the subfloor. Underlayment assists reduce sound transmission and supplies extra insulation for your wood floor. Spin out the underlayment all over the whole entire floor area and cut off any type of excess using a power knife.
4. Measure and Cut
Determine each location where you intend to install real wood floor and mark these sizes on your boards utilizing a pencil or chalk line. Use a saw to very carefully cut each panel according to your sizes.
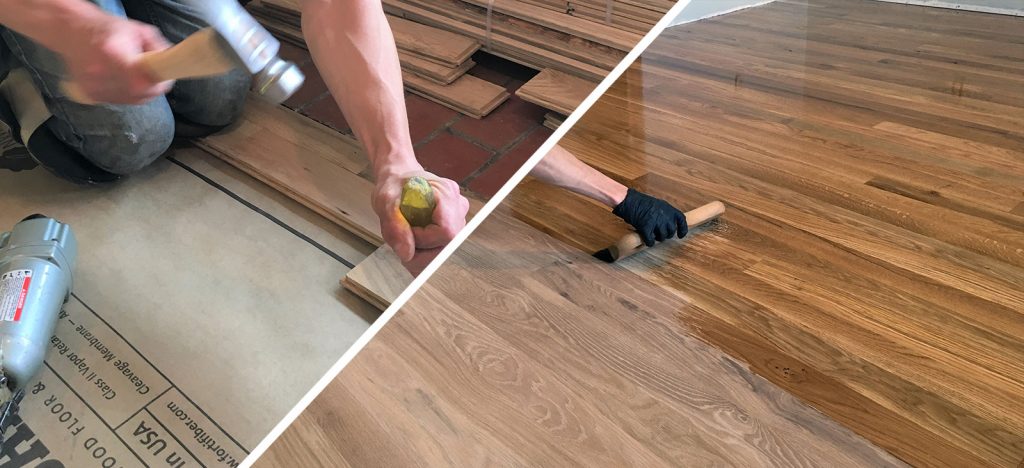
5. Start Installation
Start by laying down your initial row of panels along one wall surface of the room, leaving a little space between each board for expansion functions. Use sticky or nails (depending on your selected technique) to secure each panel right into spot.
6. Carry on with Subsequent Rows
Once you have finished the 1st row of boards, continue laying down succeeding rows in a angular pattern known as "angular junctions." This develops security and graphic allure. Don't forget to leave behind a tiny void between each board and also between the panels and the wall surfaces.
7. Trim as Needed
As you arrive at the end of each row, you might need to have to prune panels to suit into much smaller rooms. Utilize a solution tape and saw to properly reduced the panels depending on to your sizes.
8. Set up Transition Items
Transition parts are used to develop a soft shift between various flooring surface areas or rooms. Step and reduced these transition parts as required, at that point protect them in spot making use of adhesive or nails.
9. Completing Touches
Once all the wood floor is put up, it's time for the finishing touches. Make use of a hammer and completing nails (or a nail gun) to safeguard any kind of loose boards or trim that might demand additional encouragement.
10. Clean up Up
Ultimately, take the opportunity to clean up up any type of staying fragments or dirt from the setup method. Brush up or vacuum the recently put in hard wood floor completely, ensuring it appears tidy and polished.
In final thought, putting in wood flooring is an excellent method to improve your house's cosmetic beauty and market value in Vancouver. By following these step-by-step directions, you can successfully set up real wood floor covering along with preciseness and skill. Take your time, collect all needed products beforehand, and always remember safety preventative measures throughout the method for a effective setup experience!